Continuous Emission Monitoring (CEMs) operators are already familiar with the need to calibrate their stack analysers using certified calibration gases. Frequent calibration against an accurate certified gas ensures that the measurements from the stack will be as accurate as the calibration gas provided that the analysers don’t drift in between calibration.
The new “OMA” requirements BS EN 14181 and CEN standard EN13526 (for VOC measurement) stipulate that a linearity calibration, over at least 6 additional points equally divided across the measuring range, be carried out at an annual surveillance level.
Normally, a plant operator has no way of determining the accuracy of the calibration gas and they usually take the certificate of calibration with its stated +/- error as proof enough. Typical calibration gases state a +/- 2% of accuracy and the nominal figure of gas concentration is used as the calibration figure for the analyser.
When it comes to 6 point calibration the operator will soon find out how reliable these calibration certificates are as they now have 6 separate calibration gases to compare with one another. In this Company’s experience, it is not uncommon to find a “rogue” calibration gas where its actual concentration is different by a wide margin and the more calibration gases you use, the more this is likely to be found.
The analyser should be linear to within 2% of value from the manufacturer so that the errors in reading are minimal across a reasonably wide range of measurement level. The ideal plant which does not vary it’s emissions can be calibrated close to the emissions level. Thus the measurement error would only be the +/- 2% of the calibration gas.
If however, the plant emissions vary over a wide range then the analyser linearity becomes a significant possible source of error if its linearity is not within +/- 2% of reading.
This problem becomes more important with optical absorption analysers such as NDIR (these are the most common emission gas analysers) as they have an inherently non-linear response due to Beer Lamberts law.
It is also more important with mobile emissions laboratories as they are used to monitor emissions from a wide and varied type of plant with a wide range of emissions levels.
The typical NDIR analyser has a measuring range of 1000:1. This means that the analyser can resolve to 1 ppm with a 1000 ppm range or say 10 ppm with a 10,000 ppm range.
If the analyser is expected to be +/- 2% of measurement accurate over its entire operating range, then using +/- 2% calibration gases would not be accurate enough. Ideally you would have a calibration accuracy at least a factor of 10 better than the apparatus you are calibrating. An analogy would be that you would use the best specification hifi system to check the quality of recorded music.
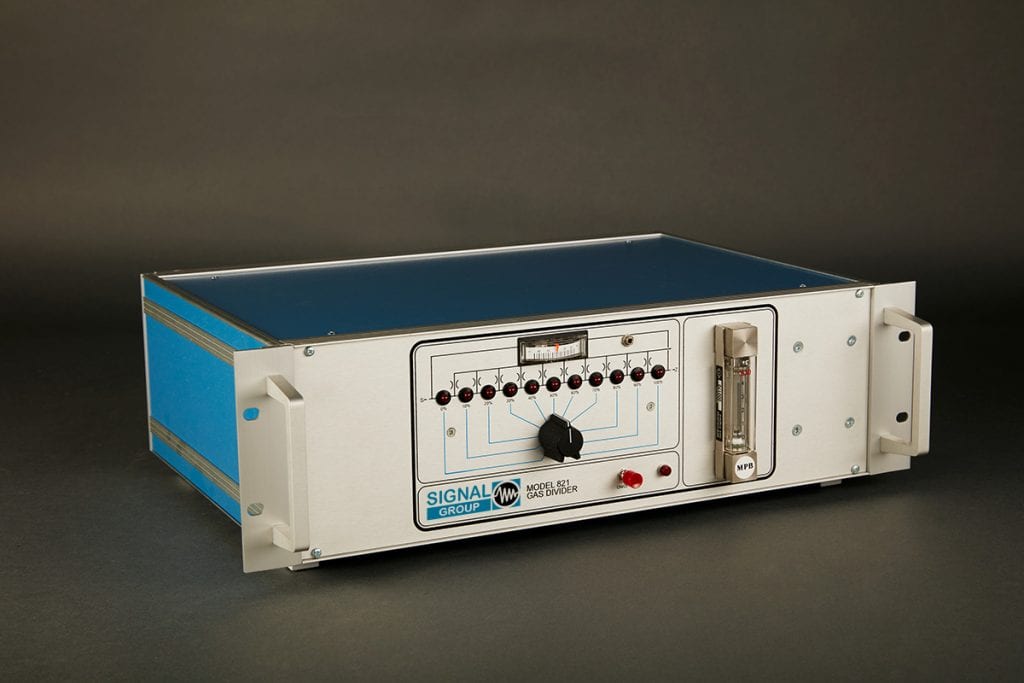
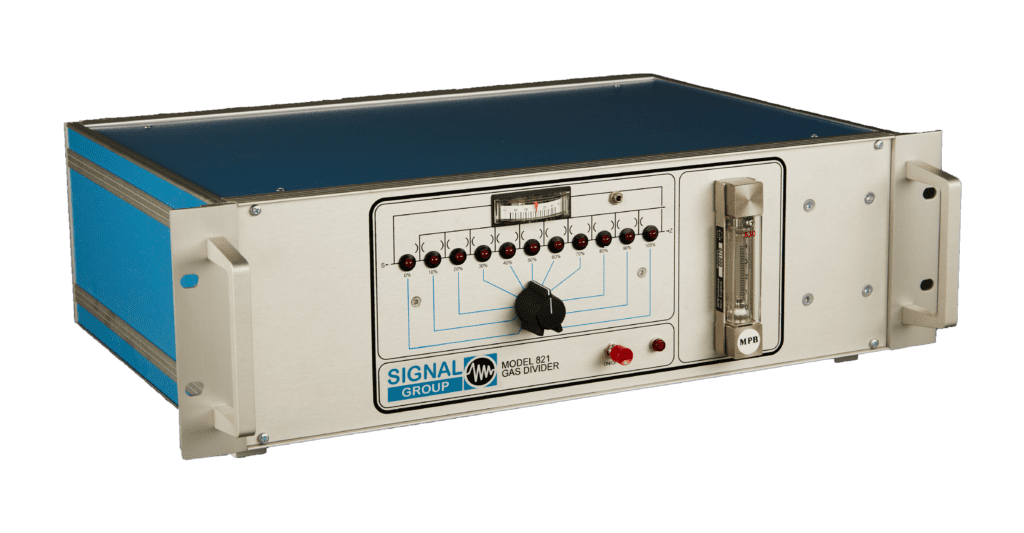
The Signal Model 821S Gas Divider has 10 equal steps from the calibration gas to zero gas, i.e. with a calibration gas of 1000 ppm you can obtain 1000, 900, 800, 700, 600, 500, 400, 300, 200, 100, zero to within +/- 0.2% FSD, reproducible to 0.1% of point.
The use of gas dividers has been around for many years but there has always been the question of the calibration of the Calibrator.
In the case with the Signal Group Gas Divider, the design is based on the use of 10 identical capillaries with span and zero gases connected to a manifold where an internal high precision equalising pressure regulator ensures that the capillaries are fed with identical pressure of gas fig.1.
The capillaries are manufactured in large batches and are calibrated with a standard flow meter referenced to an in house standard capillary. The reference capillary is set to a given flow rate on the flow meter and all subsequent capillaries in the batch are compared one at a time against the reference capillary. At the end of this process, batches of 10 capillaries of equal flow against the reference are collected and used for the Gas Divider.
The design also allows the reversing of the span and zero gas at the inputs to the Gas Divider in order to see if the reading on the analyser comes out the same.
Regardless of the linearity of the analyser, the Gas Divider will read the same on the analyser in each of the ten points when the span and zero are reversed if the Divider is correct.
The Company has applied for patents on an additional unit which utilises a similar schematic but which produces 100 points.
Mass flow meter based Gas Dividers suffer from an inherent non linearity of their own response which needs to be calibrated as well as an error typically quoted as 1% full scale. 1% full scale is better than 2% of point at the full scale level, but gets progressively worse as the flows get to the lower levels of their range, whereas the Signal Gas Divider is 0.2% FSD.
Mass flow meters non-linearity is a function of the thermal measurement of the specific heat of the gas together with the non-linear function of gas flowing through the main flow meter body compared to the shunt flow through the measuring capillary.
Mass flow meters have typically a measuring range of 100:1, accurate to +/- 1% FSD. In order to minimize the number of mass flow meters needed to cover dilution ratios higher than the range of the mass flow meter, a relatively high level of span gas is usually “dumped” via a bypass.
This allows the span gas to be “on range” of the mass flow controller and the diluent to be at a higher level than required by the analyser in order to obtain the required dilution.
Obviously, this leads to quite high consumption of calibration gas (and these can be very expensive) together with the problem of knowing where to vent this unwanted and potentially toxic gas.
Gas divider certification to traceable and international standards is a surprisingly difficult area. The calibration gases used as national standards such as UK’s National Physical Laboratory are usually certified to +/- 2% of their value. At an extra charge they can produce +/- 1% of value. These national standard certified gases are therefore not accurate enough to be used to check the calibration of a Gas Divider that has a quoted specification of +/- 0.2% FSD.
The National Physical Laboratory goes to extraordinary lengths to reduce the uncertainty of their calibration. Several “master” standards of various concentrations are sent in “round robin” tests to other USA and European national standards laboratories in order to check the certified concentrations against other laboratories.
When commercial grade calibration gases are certified by NPL, they use a selected gas analyser and “bracket” the analyser by using two or more master gases either side of the concentration of gas to be certified. They thus reduce the potential error by reducing the range over which the analyser is used.
NPL also utilize a blending system to produce several gas concentrations from a master gas in order to expand the number of gas concentrations available to “bracket” the gas analysers used for commercial grade calibration gas certification. This blender uses mass flow controllers in a fixed set point mode and utilizes several in parallel set to the nearest FSD of a secondary mass flow meter. In effect they are using mass flow meters in the same way as the Signal Gas Divider uses fixed capillaries. Instead of making large batches of capillaries from which ten identical can be selected, they use mass flow meters which are set to a common flow rate at or near their full scale deflection where reproducibility is at its best. A paper published on this device was published in the Institute of Physics Journal on 20th June 2002 and can be obtained on-line at www.stacks.iop.org/mst/13/1138
The Signal Group Model 821S Gas Divider quotes a specification of +/- 0.2% FSD, set point accuracy with a reproducibility of 0.1% of point. This can be certified by NPL using the facilities as mentioned earlier. For customers wishing to obtain certification to the national standards available in the UK, this represents the only current facility available.
Signal Group are currently exploring the certification of their in house method to UKAS approval status but in the meantime refer all customers requiring traceability to the National Physical Laboratories.


